
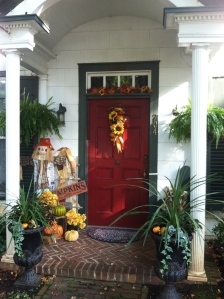
For my front porch, I wanted to quilt a shawl for my tobacco ladder and 2 patchwork pillows for the bench. Since I had no clue what I was doing, I went with simple. As I am new to all this, my pics will follow at the end of this blog.
I used 3 charm packs: Farm Yard Toile by Carolyn Carpin for Heritage Prints by Benartex. For the shawl, I used 36 of the 5″ x 5″ squares.
For the tobacco ladder shawl, I sewed 3 rows of 12 charms. I tried not to go OCD on this – you really have to let go and trust the designers with their fabrics. It will blend, I promise. Even if it looks like it won’t, it will. The only thing I had to double check was that two blocks of the same print were NOT side by side. So I sewed the 3 rows of 12 together ( 1/4″ seam) and set it aside to start the pillows.
I have old pillow forms that I use over and over for the porch. I knew from measuring them, that I would need 4 squares across and 4 squares down. Here is where I complicated it for myself. I had decided to do the pinwheel (love them) design for the pillows and in order for them to stand out, I had to try to match a darker fabric with a lighter one. I matched and I re-matched. I started stressing over the two fabrics. Good grief! I attempted to have 1 print with 1 solid but this did not work out perfectly (remember, I’m using charm packs (pre-cut) so I pretended that several of the smaller prints were solid – I know! But it worked for me.
For my two pillows, I needed 32 pinwheels (16 each pillow). If you don’t know how to make pinwheels, Jenny Doan, from Missouri Star Quilt Company has a wonderful tutorial on youtube, dated June 8, 2010. Go check it out.
After you have sewn your pinwheels (aren’t they pretty to look at stacked up like that?) it helps if you have all your 1/4″ seams going the opposite directions so that you can “nest” your seams together for a perfect fit. After I had my two pillow tops sewn, I realized, “silly girl, you don’t have any backing fabric!” Remember, I used charm packs! Since I was in the mood to continue, I went to Wallyworld (gasp) and bought some perfectly lovely golden brown material for $3.97 a yard. This would also be my binding material as well. Now here is where I need to preach to you about using only good, quality quilting material for your projects – you should (short sermon). I do want to go on record that I believe you ought to support your local fabric shop but like all things in life, there are exceptions. Mine was 1. these things were going on my porch and 2. Wallyworld was 6 minutes down the road.
These pillows and shawl were my first attempt at Free Motion Quilting (FMQ). I had been practicing on 10″ sandwich squares (two pieces of material between batting) for 6 weeks and I was ready to give FMQ a try on some projects. I am lucky enough to be married to a man who believes in collecting “good, quality toys” the first time around. These projects were done on my Pfaff machine. (I have since bought 2 more machines, a Bernina and a 1948 Singer Featherweight – but more on that in a later post). It just made sense to me not to do all things on one machine…and besides, when one had to be serviced, I would still have another as back up. That’s my reasoning, anyhow, and I’m sticking to it!
I used a large stipple design on one pillow to begin with but it became apparent to me that I had to do something different (it didn’t look to good) so I went with a large loop-de-loop design. It was easier for me and I thought it looked much better. I used my echo foot for this, even though I wasn’t echoing, because I like the large, clear foot. It worked fine and I liked the end results. You don’t always have to follow the rules – it’s ok to break them and as an old friend of mine always tells me, there is no such thing as a quilt police!
For the second pillow, I quilted 1/8″ around the pinwheel seams. I am not a fan of stitch-in-the-ditch (what’s the point) cause using 1/8″ showed the thread and gave it a really clean look. This ended up being my favorite pillow cause of the clean lines.
I then sewed the quilted tops of all three pieces to the golden/brown material. On the pillows I turned two of the edges down cause I was leaving one side opened for easy removal of the pillow for washing. I used velcro for the closing of the opening – fast and easy. I used a 2″ binding for my shawl (measure the length and width times 2 plus 10″) and machine bind it. In the future I may do a tutorial on binding.
Hopefully, the pics will follow and if you have any questions or comments, I’d love to read them. Please keep in mind, I am very new to quilting and my mistakes may help you from making the same ones. My intent with this blog is to remain open and true and to document all the projects I jump to and fro on. Stick with me, there’s more to come!

Selecting the charms

Pinwheels

Still choosing fabric

looking for combinations

Half Square Triangles (HST) ready to be made into pinwheels

Pinwheels and more pinwheels

sewing pinwheels together

And in the middle of my porch project, My Man Tony needed some sewing done!

Fronts are pieced together

Sewing binding on the bias. I trim with pinking shears.

Fold binding in half and iron.

Pin binding to edge of quilt sandwich.

Sewing the mitered corner. Fold up.

Fold over and come down the side.

Continue sewing down the edge, always using a 1/4″ seam.

Sew as far to end as possible and fold up again.

Fold down and continue sewing 1/4″ seam.

Using the binding tool. Follow instructions on tool.

Continuing with the binding tool for a perfect binding closing.

Sew binding down. In machine binding, you start at the front, flip binding to back, and sew down again.

Finished shawl for tobacco ladder. This would also make a long table runner.

Sewing back of pillows together.

Squaring up the pillow covers front.

One pillow cover top. This one is to be stippled/looped FMQ.
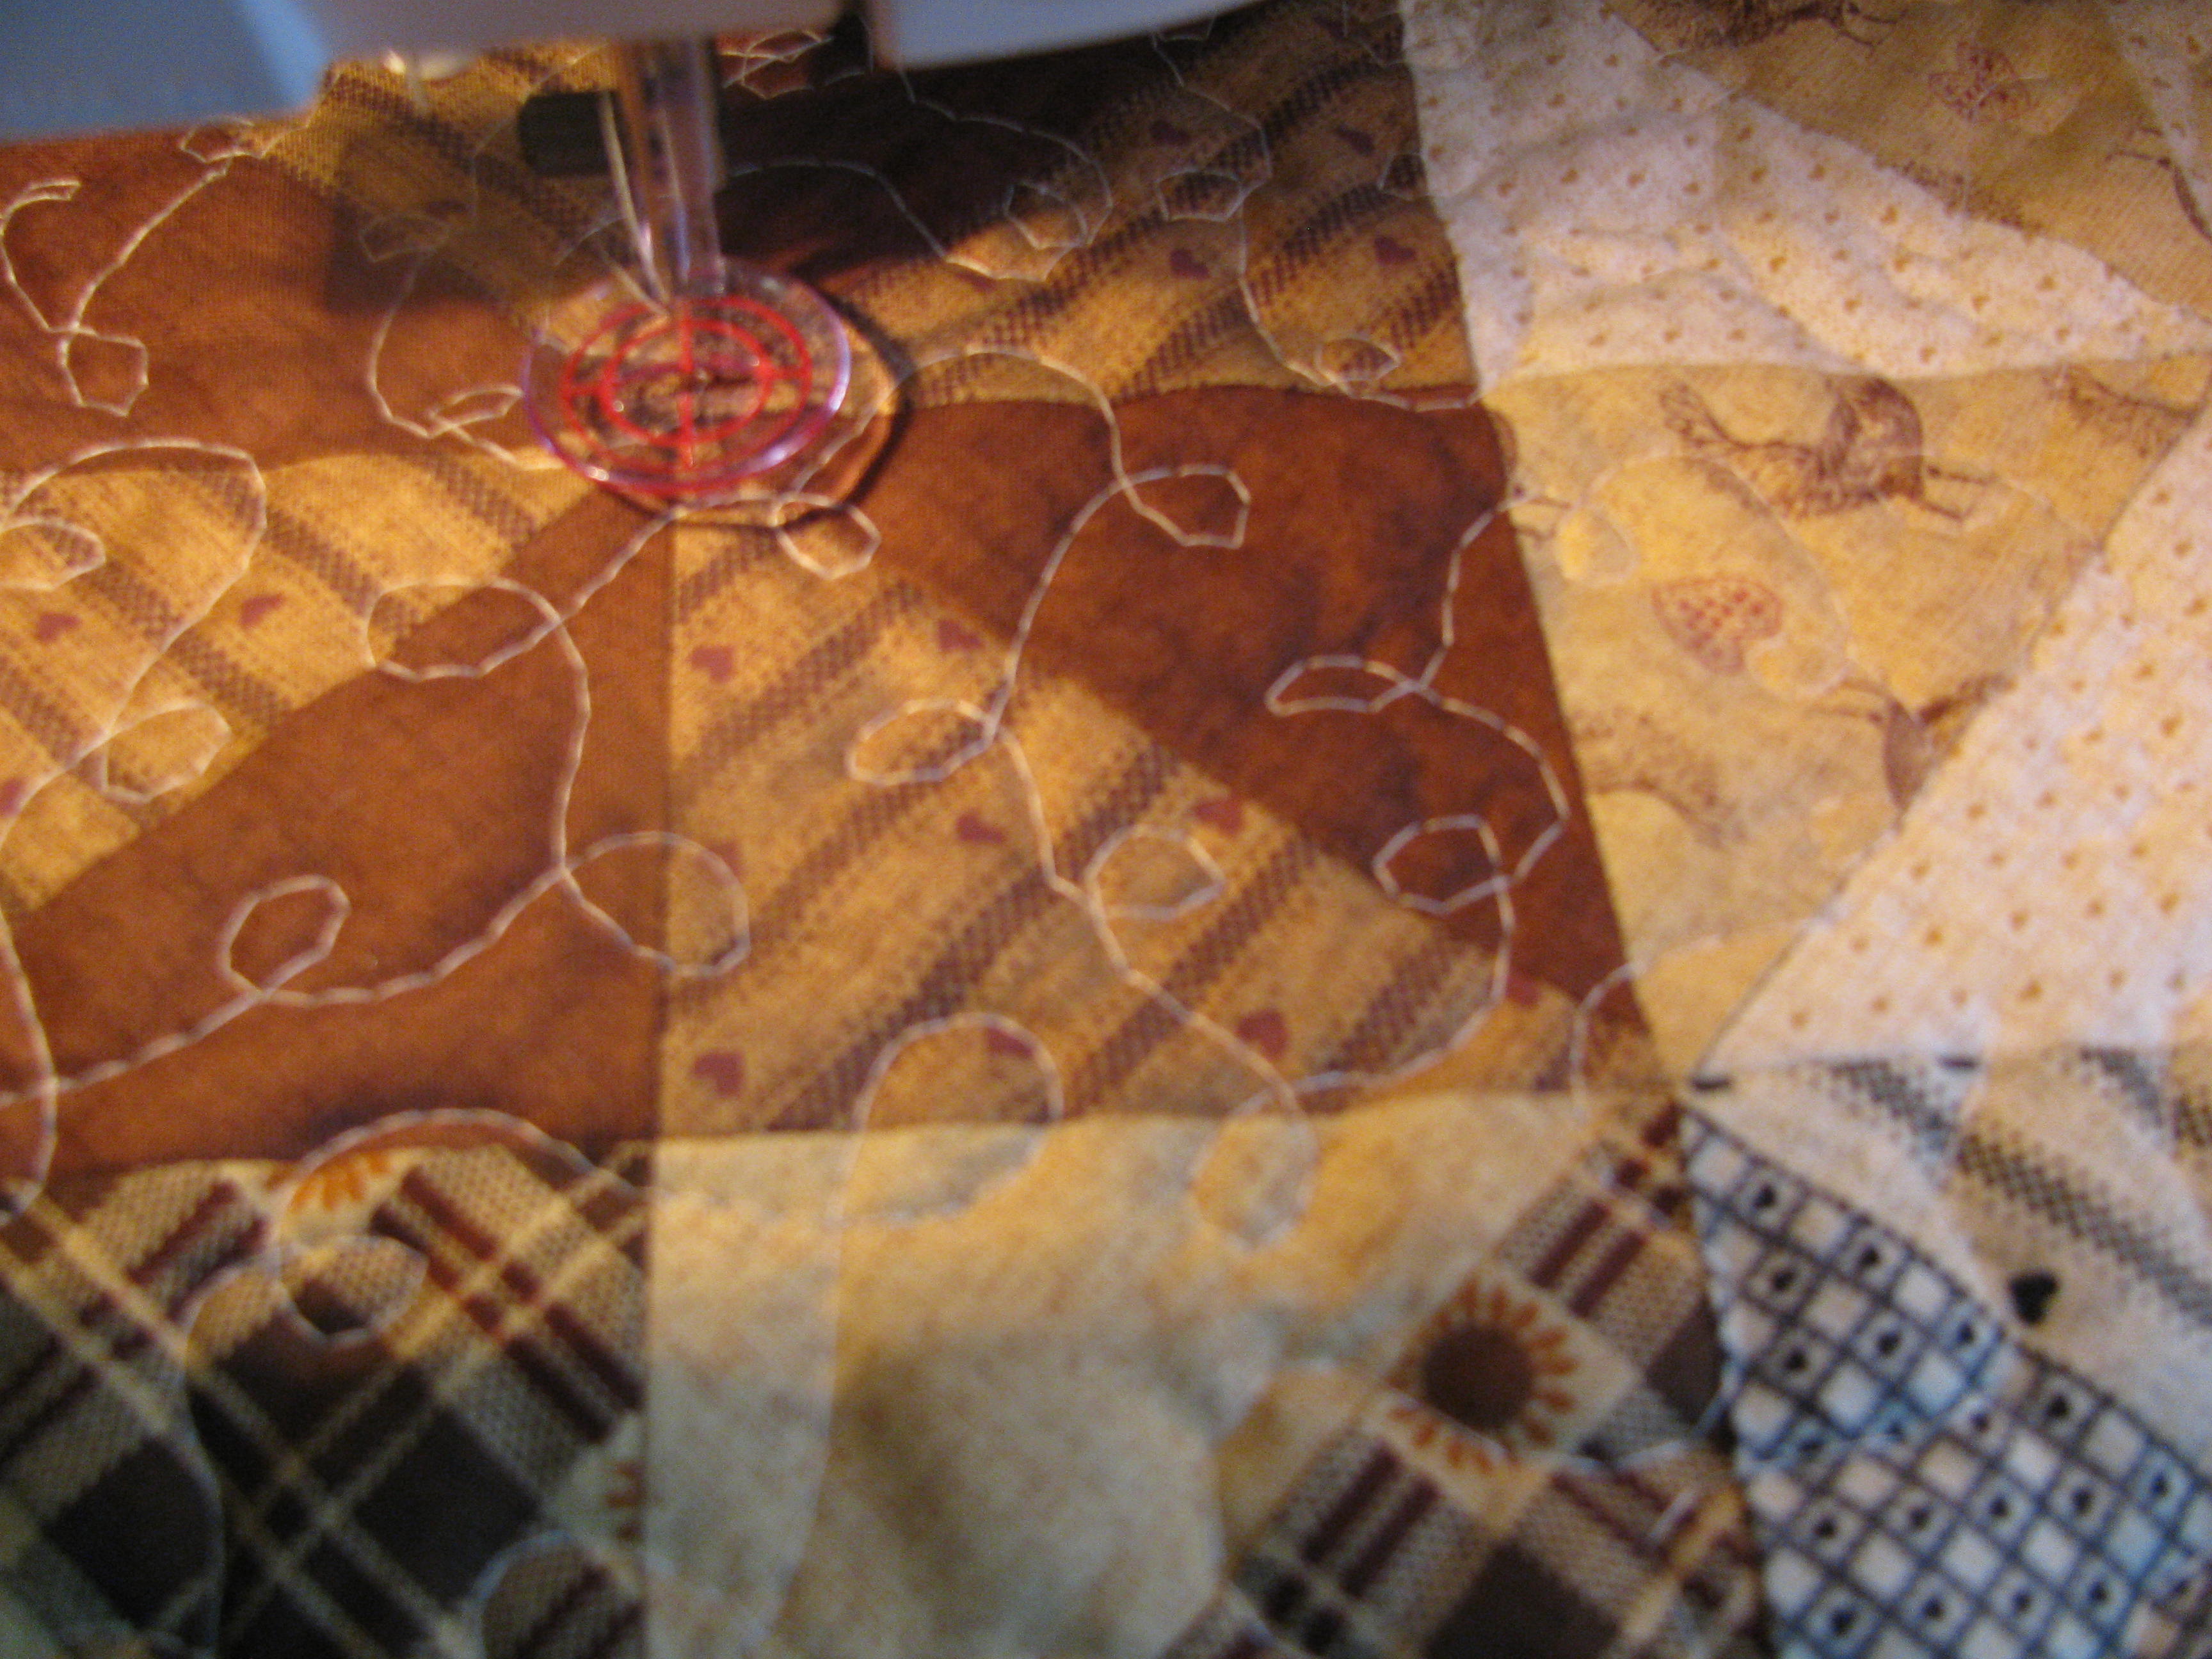
Close up of looping FMQ. Clearly a beginner’s project!

Close up of quilting with 1/8″ seam around each pinwheel.

Close up finish of quilting on pillow 2.

